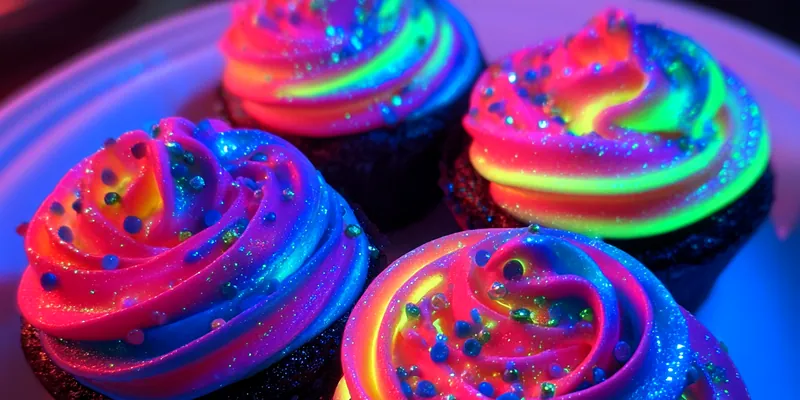
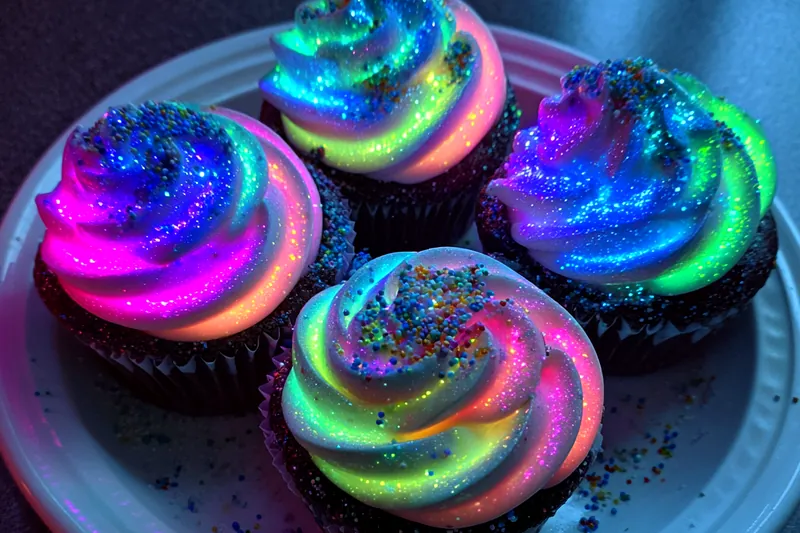
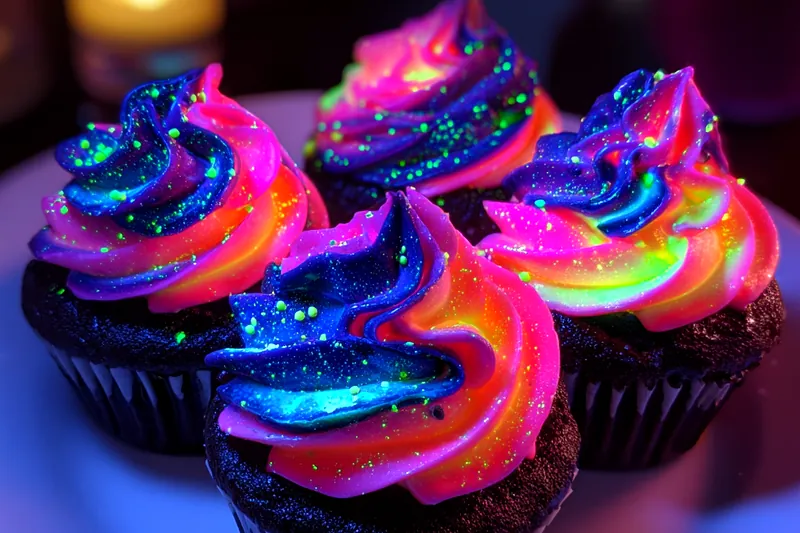
Radiant Neon Glow Cupcakes
Radiant Neon Glow Cupcakes are a vibrant, fun dessert perfect for any celebration. These colorful cupcakes are not only visually stunning but also deliciously sweet. With a light and fluffy texture, they're sure to impress both kids and adults alike. Brighten up your next gathering with these easy-to-make treats!

Why This Radiant Neon Glow Cupcakes Recipe Works
These cupcakes are not just visually appealing; they also combine flavors that kids and adults love. The use of neon food coloring makes them stand out, making them perfect for celebrations and parties. The recipe is simple and quick, allowing even novice bakers to achieve stunning results.
With a balanced sweetness and a light, fluffy texture, these cupcakes are sure to please any crowd. The combination of butter and sugar gives them a rich flavor, while the neon colors add an element of fun that makes them unforgettable.
💡 Professional Tip
To achieve the most vibrant colors, use gel food coloring instead of liquid. Gel colors are more concentrated and provide a brighter result without altering the batter's consistency. Also, make sure to not overmix your batter to keep the cupcakes light and airy.
Frequently Asked Questions
Yes, you can make the cupcakes a day in advance. Just store them in an airtight container at room temperature. However, it's best to frost them on the day you plan to serve them to maintain the freshness of the frosting.
You can use margarine or a dairy-free butter substitute if you want a dairy-free version. Just ensure that the substitute has a similar fat content to achieve the same texture in the cupcakes.
Insert a toothpick into the center of a cupcake; if it comes out clean or with a few crumb bits, the cupcakes are done. You can also gently press on the top of a cupcake; if it springs back, it’s ready.
Yes, you can freeze the baked cupcakes without frosting. Just wrap them tightly in plastic wrap and then place them in an airtight container. They can be stored for up to 3 months.
These cupcakes are delightful on their own, but you can serve them with a scoop of vanilla ice cream or a drizzle of chocolate sauce for an extra treat. Fresh fruit like strawberries or raspberries also pairs wonderfully.
When stored in an airtight container, the cupcakes can last up to a week in the fridge. However, the frosting may start to lose its texture after a few days, so it’s best to consume them fresh.
Yes, you can prepare the batter ahead of time and store it in the refrigerator for up to 24 hours. Just let it come to room temperature before baking for the best texture.
To reheat, place the cupcake in the microwave for about 10-15 seconds. This will warm them up without drying them out. If they have frosting, be careful not to overheat, as the frosting might melt.
Recipe Troubleshooting Guide
Too Dry
Problem: If your cupcakes come out dry, it may be due to overmixing or overbaking.
Solution: To prevent this, be careful not to overmix your batter and always keep an eye on the baking time. Use a toothpick to test doneness a few minutes before the suggested time.
Not Crispy Enough
Problem: Sometimes, cupcakes may not have a crisp top.
Solution: Ensure your oven is preheated and consider baking them for an extra few minutes to create that desired texture.
Overcooked
Problem: Overcooked cupcakes can be dry and crumbly.
Prevention: To prevent this, always check for doneness a few minutes before the recommended baking time and use an oven thermometer to ensure accurate temperatures.
Undercooked Center
Problem: Sometimes the center of the cupcakes may remain gooey.
Recovery: If this happens, return them to the oven for an additional few minutes. Always ensure you're testing with a toothpick to check for doneness.
Burnt Exterior
Problem: If the tops of your cupcakes are burnt, it may be due to a too-high baking temperature or an uncalibrated oven.
Prevention: Always use an oven thermometer to check the temperature and consider placing the cupcakes on a lower rack to prevent burning.
Flavor Balance
Too Sweet: If your cupcakes are too sweet, add a pinch of salt to the frosting to balance the flavors.
Too Salty: If the cupcakes taste too salty, try adding more sugar to the batter, or serve with a sweet frosting to counteract the saltiness.
Bland: To avoid bland cupcakes, make sure to use quality vanilla extract and consider adding a pinch of cinnamon for extra flavor.
Essential Ingredients for Radiant Neon Glow Cupcakes
The key ingredients for these cupcakes include all-purpose flour, sugar, cocoa powder, and butter. Each ingredient plays a crucial role in achieving the right texture and flavor. The vibrant neon food coloring transforms the ordinary into the extraordinary, making these cupcakes a visual delight.
Using high-quality ingredients is essential to create the best flavor and texture. Fresh butter and pure vanilla extract will elevate your cupcakes, while organic flour and sugar can enhance the overall taste. Investing in quality ingredients makes a noticeable difference.
Essential Ingredient Notes
- All-Purpose Flour: Choose a standard all-purpose flour for a light and fluffy texture. Avoid using cake flour, as it may make the cupcakes too dense.
- Unsalted Butter: Using unsalted butter allows you to control the salt content. Ensure it's at room temperature for easy mixing and a smooth batter.
- Neon Food Coloring: Opt for gel-based neon food coloring for brighter hues. Liquid colors can dilute the batter, so gel is preferable for vibrant results.
Step-by-Step Cooking Process
This recipe involves a straightforward mixing process, ensuring anyone can create these delightful cupcakes. Start by mixing dry ingredients separately from wet ones to guarantee an even distribution. Then, combine and color your batter for a fun baking experience.
To achieve perfect results, avoid overmixing the batter after adding the flour. This will ensure your cupcakes remain light and fluffy, resulting in a delightful treat for everyone.
Key Technique for Perfect Radiant Neon Glow Cupcakes
The most important technique for these cupcakes is to mix the batter just until combined. Overmixing can lead to a dense cupcake, while gentle mixing preserves the airy texture. Additionally, using gel food coloring allows you to achieve that vibrant neon look without compromising the batter's consistency.
Radiant Neon Glow Cupcakes
📋 Ingredients
Main Ingredients
- 1 cup butterRoom temperature
- 2 cups powdered sugarSifted
- 2 tablespoons heavy creamFor consistency
- 1 teaspoon vanilla extractFor flavor
- Neon food coloringFor decoration
For the Sauce
- 1 cup all-purpose flourFor the cupcake base
- 1/2 cup sugarFor sweetness
- 1/4 cup unsweetened cocoa powderFor chocolate flavor
- 1/2 teaspoon baking powderFor rise
- 1/4 teaspoon baking sodaFor rise
- 1/4 teaspoon saltTo balance sweetness
- 1/2 cup unsalted butterSoftened
- 2 large eggsFor structure
- 1 teaspoon vanilla extractFor flavor
- 1/4 cup milkFor moisture
Instructions
Preheat Oven
Preheat your oven to 350°F (175°C) and line a cupcake tray with cupcake liners.
Mix Dry Ingredients
In a mixing bowl, combine flour, sugar, cocoa powder, baking powder, baking soda, and salt.
Cream Butter and Sugar
In another bowl, cream together the softened butter and sugar until light and fluffy.
Add Eggs and Vanilla
Beat in the eggs one at a time, followed by the vanilla extract.
Combine Mixtures
Gradually add the dry ingredients to the wet mixture, alternating with milk.
Divide and Color
Separate the batter into bowls and mix in neon food coloring to achieve desired brightness.
Fill Liners
Spoon the colored batter into the cupcake liners, filling each about 2/3 of the way.
Bake
Bake for 20-25 minutes or until a toothpick inserted in the center comes out clean.
Cool
Allow cupcakes to cool in the tray for 10 minutes before transferring to a wire rack.
Prepare Frosting
In a bowl, combine powdered sugar, heavy cream, and vanilla extract to make the frosting.
Frost Cupcakes
Frost cooled cupcakes with the prepared frosting and top with sprinkles if desired.
Serve
Enjoy your Radiant Neon Glow Cupcakes!
Recipe Notes & Tips
Storage Tips
To store your Radiant Neon Glow Cupcakes, place them in an airtight container at room temperature for up to 5 days. If you need to keep them longer, consider freezing them without frosting.
Serving Suggestions
Serve these colorful cupcakes at birthday parties, school events, or any fun gathering. Pair with milk, ice cream, or a fruit platter for a delightful dessert spread.
Recipe Variations
Feel free to experiment with different flavors by adding extracts like almond or lemon. You can also try different frosting styles, such as cream cheese or whipped cream, to change the flavor profile.