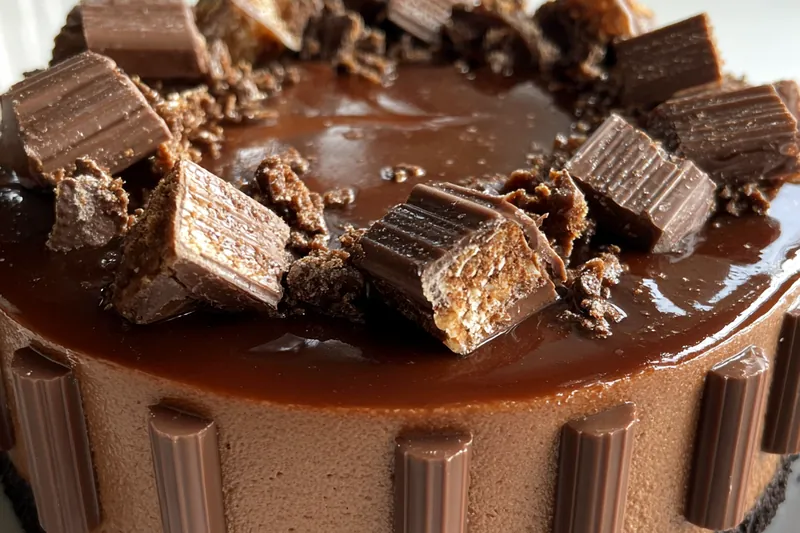
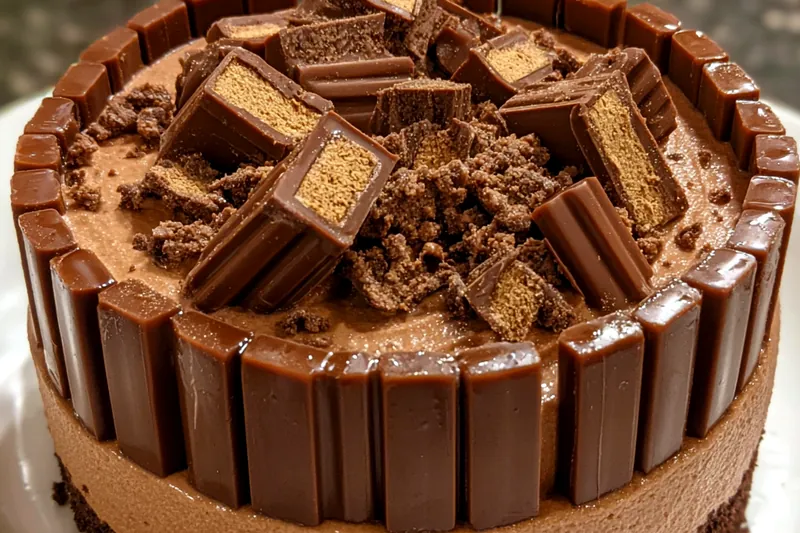
No-Bake Chocolate Wafer Cake
No-Bake Chocolate Wafer Cake is a wonderful dessert that satisfies chocolate cravings without the need for baking. This cake is perfect for warm days or when you want a quick and easy treat. With layers of chocolate wafers and a luscious whipped cream filling, it's a delightful indulgence. Serve it for parties, potlucks, or just a special family dessert night.


Why This No-Bake Chocolate Wafer Cake Recipe Works
The No-Bake Chocolate Wafer Cake stands out due to its simplicity and the use of readily available ingredients. The chocolate wafers provide a perfect texture contrast with the creamy filling, making each bite delightful. It’s a dessert that pleases both kids and adults alike, and requires no baking time—just refrigerate!
The technique of layering the wafers with whipped cream ensures that the flavors meld beautifully. As the cake chills, the wafers soften, creating a cake-like texture that is both light and satisfying. This recipe not only saves time but also guarantees impressive results with minimal effort.
💡 Professional Tip
For an extra touch, try adding different flavors to the cream mixture, such as a splash of coffee or a hint of liqueur. Make sure your heavy cream is cold when whipping for the best volume and texture. You can also experiment with toppings like crushed cookies or various fruits for added flavor and visual appeal.
Frequently Asked Questions
Absolutely! This cake is perfect for making ahead of time. In fact, it tastes even better when allowed to sit overnight in the refrigerator. Just ensure it is tightly covered to maintain freshness.
If you can't find chocolate wafers, you can use graham crackers or any similar cookies. Just keep in mind that the flavor and texture might differ slightly, but it will still be delicious!
Since this is a no-bake cake, it’s 'done' once it has chilled long enough. You’ll want to refrigerate it for at least 4 hours, but overnight is recommended for the best results. The cake should feel firm to the touch when ready to serve.
Yes, you can freeze this cake! Make sure it's well wrapped in plastic wrap and foil to prevent freezer burn. It will last in the freezer for about a month. Thaw it in the refrigerator overnight before serving.
This cake pairs wonderfully with a scoop of vanilla ice cream or a dollop of whipped cream. Fresh berries or a drizzle of caramel sauce can also enhance the dessert experience.
The No-Bake Chocolate Wafer Cake will last about 5 days in the refrigerator when stored properly in an airtight container. However, it is best enjoyed within the first three days for optimal texture and flavor.
Yes, making it in advance is ideal! This cake benefits from chilling, as it allows the flavors to develop and the texture to set. Just remember to cover it well to prevent it from absorbing any odors from the fridge.
Since this is a no-bake cake, you don’t need to reheat it. It’s best served cold or at room temperature. If it's been frozen, thaw it in the fridge and serve it directly without reheating.
Recipe Troubleshooting Guide
Too Dry
Problem: If your cake feels dry, it might be due to not enough cream being used or not letting the layers soak properly.
Solution: To remedy this, ensure you use enough whipped cream between layers and let the cake chill adequately so the wafers can absorb moisture.
Not Crispy Enough
Problem: If the cake lacks crispiness, it may be due to not using enough chocolate wafers or not allowing it to chill long enough for the layers to set properly.
Solution: Ensure you have enough layers of wafers and allow sufficient chilling time to achieve that desired texture.
Overcooked
Problem: While this cake is no-bake, if your cream was overwhipped, it can become grainy.
Prevention: To prevent this, whip the cream just until it reaches stiff peaks and stop there to maintain a smooth texture.
Undercooked Center
Problem: An undercooked center in a no-bake recipe usually relates to insufficient chilling time.
Recovery: Ensure to refrigerate the cake for at least 4 hours or overnight for best results.
Burnt Exterior
Problem: This can happen if the chocolate syrup is overheated or if toppings are applied before serving.
Prevention: Always add toppings just before serving to avoid any burnt flavors from occurring.
Flavor Balance
Too Sweet: If the cake is too sweet, consider adding a pinch of salt or an extra layer of cocoa to balance the sweetness.
Too Salty: To counteract excess salt, try adding a bit of cream or sugar to help balance the flavors.
Bland: If the cake tastes bland, boost the flavor by adding more vanilla or cocoa powder to the cream mixture.
Essential Ingredients for No-Bake Chocolate Wafer Cake
Key ingredients for this recipe include chocolate wafers, heavy cream, and cocoa powder. These elements work together to create a rich, creamy dessert that's easy to prepare. The chocolate wafers form the structure of the cake, while the cream adds the delightful fluffiness.
Using high-quality ingredients, particularly the cream and chocolate, can enhance the overall flavor of the cake. Opt for organic or premium brands for the best results. Fresh, room-temperature ingredients yield a smoother texture and better incorporation during preparation.
Essential Ingredient Notes
- Chocolate Wafers: Choose a brand that uses real cocoa for the best flavor. Store them in a cool, dry place to maintain their crispness before use.
- Heavy Cream: Always use chilled heavy cream for whipping. This ensures you achieve the necessary volume and stability in your whipped cream.
- Cocoa Powder: Select unsweetened cocoa powder for a rich chocolate flavor. Make sure to sift it before adding to avoid lumps in your cream mixture.
Step-by-Step Cooking Process
The no-bake process is straightforward and quick, making this cake a fantastic option for any dessert table. Start by preparing your cream mixture and layering it with the wafers. The key is to assemble the layers neatly for a visually appealing presentation.
To achieve perfect results, ensure that you give the cake ample chilling time. This allows the flavors to meld and the texture to set, resulting in a cake that is both delicious and easy to slice.
Key Technique for Perfect No-Bake Chocolate Wafer Cake
The most important technique to master for this no-bake cake is whipping the cream to the right consistency. Overwhipping can lead to a grainy texture, while underwhipping won't provide the necessary stability. Aim for stiff peaks for a perfect result.
No-Bake Chocolate Wafer Cake
📋 Ingredients
Main Ingredients
- 1 cup butterRoom temperature
- 1 cup chocolate syrupFor drizzling
- 1/4 cup fresh berriesFor garnish
- 1/4 cup chopped nutsOptional topping
For the Sauce
- 1 package chocolate wafers (9 oz)
- 2 cups heavy cream
- 1 cup powdered sugar
- 1/2 cup unsweetened cocoa powder
- 1 tsp vanilla extract
- 1/4 cup milk
- 1/2 cup chocolate chips (optional)
- 1/4 cup chopped nuts (optional)
- Pinch of salt
Instructions
Prepare the Cream Mixture
In a large mixing bowl, whip the heavy cream until soft peaks form. Gradually add the powdered sugar, cocoa powder, vanilla extract, and a pinch of salt. Continue to whip until stiff peaks form.
Layer the Wafers
On a serving platter, place a layer of chocolate wafers. Spread a layer of the whipped cream mixture over the wafers, ensuring to cover them well.
Repeat the Layers
Continue layering the wafers and cream mixture until all ingredients are used, finishing with a layer of cream on top.
Chill the Cake
Cover the cake with plastic wrap and refrigerate for at least 4 hours or overnight for the best flavor and texture.
Prepare for Serving
Once chilled, remove the cake from the fridge. Drizzle chocolate syrup over the top and garnish with fresh berries and mint leaves.
Slice and Enjoy
Slice the cake into pieces and serve chilled. Enjoy the rich flavors and creamy texture!
Recipe Notes & Tips
Storage Tips
Store the No-Bake Chocolate Wafer Cake in an airtight container in the refrigerator. It can be kept for up to 5 days. If freezing, wrap it tightly to prevent freezer burn, and consume within a month for best quality.
Serving Suggestions
Serve the cake chilled with a side of vanilla ice cream or fresh whipped cream. Garnish with additional chocolate syrup or seasonal fruits for an extra touch.
Recipe Variations
Feel free to experiment with this recipe by adding different flavors to the cream, such as almond extract or coffee. You can also substitute the chocolate wafers with vanilla wafers for a different flavor profile.