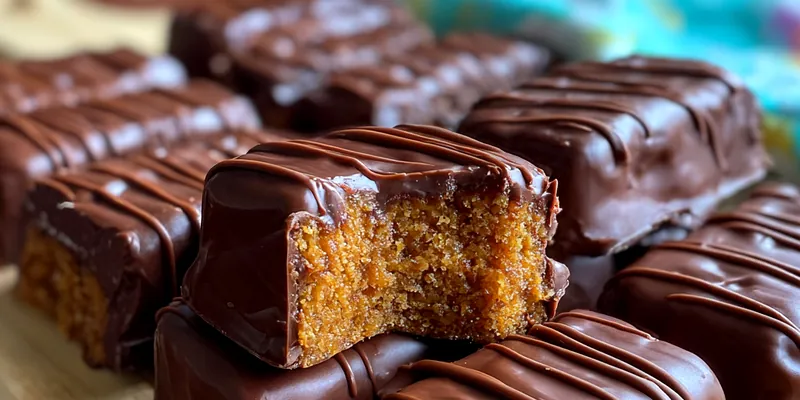
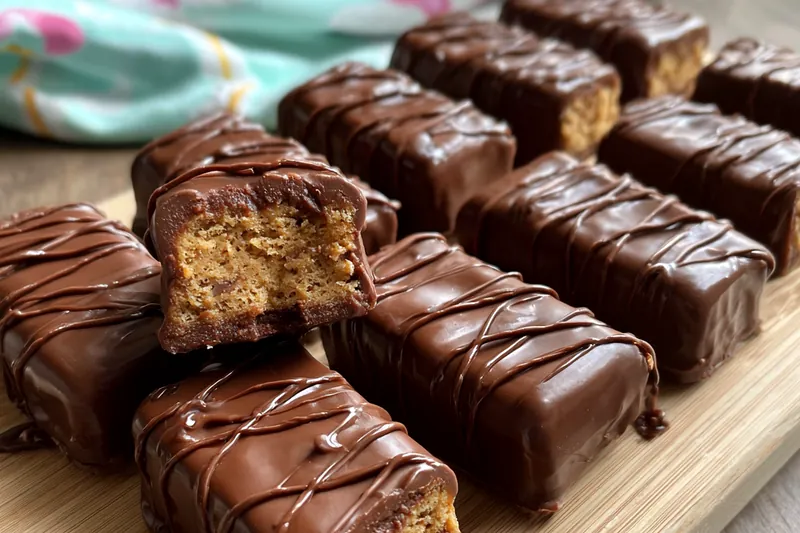
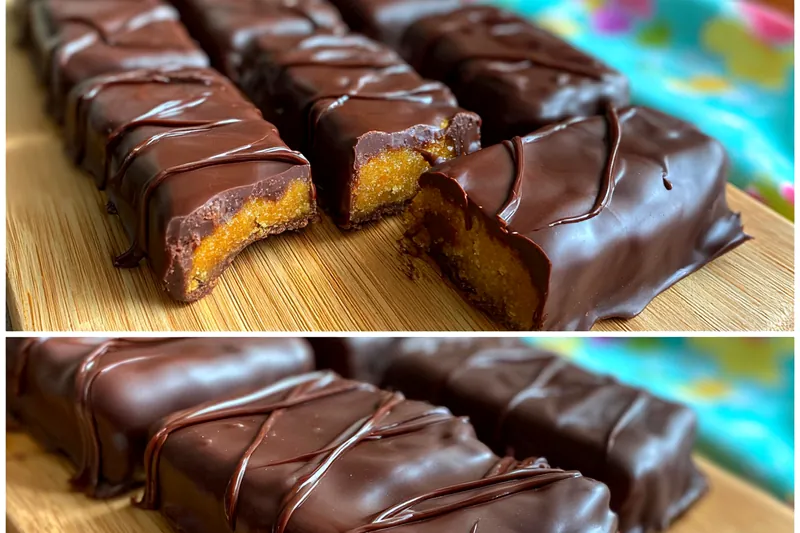
Homemade Chocolate Caramel Bars
Indulge in the rich and decadent flavors of Homemade Chocolate Caramel Bars. This easy-to-follow recipe combines a crunchy crust with a creamy caramel layer and a rich chocolate topping. Perfect for gatherings or a sweet treat at home, these bars are sure to please everyone. Enjoy the delightful combination of textures and tastes in every bite!

Why This Homemade Chocolate Caramel Bars Recipe Works
The combination of a graham cracker crust, gooey caramel, and rich chocolate creates a perfectly balanced dessert. Each layer complements the others, resulting in a delightful treat that's hard to resist. This recipe allows for simple ingredients that are easily accessible, making it ideal for any home baker.
The technique of layering ensures that each bite has the perfect ratio of crust, caramel, and chocolate. Baking the crust first gives it a nice crunch, while the melted chocolate layer on top adds richness. The cooling process allows the bars to set nicely, making them easy to cut and serve.
💡 Professional Tip
For the best flavor, use high-quality chocolate and caramel sauce. Also, ensure that the butter is melted but not hot when mixing with the crust ingredients, as this can affect the texture of your bars.
Frequently Asked Questions
Absolutely! These bars can be made a day or two in advance. Just ensure they are stored in an airtight container in the refrigerator. This allows the flavors to meld even more, making them even tastier when you serve them.
You can use evaporated milk with a bit of added sugar as a substitute for sweetened condensed milk. Alternatively, making a homemade version by combining milk and sugar can also work well. Just ensure it is thick enough to provide the desired texture.
These bars are done when the caramel layer is bubbly and the chocolate is melted and set. After removing from the oven, allow them to cool completely to ensure they hold their shape when cut.
Yes, you can freeze these bars! Wrap them tightly in plastic wrap and then in aluminum foil to prevent freezer burn. They can be stored in the freezer for up to 3 months. Just thaw them in the fridge overnight before serving.
These bars pair well with a scoop of vanilla ice cream or a dollop of whipped cream. For added flavor, consider serving them with a drizzle of chocolate or caramel sauce on top. They also make a great accompaniment to coffee or tea.
Stored in an airtight container, these bars can last up to a week in the refrigerator. However, they are best enjoyed within the first few days for optimal freshness and flavor.
Yes, you can prepare these bars several days ahead of time. Just make sure to store them properly in the refrigerator to maintain their freshness. This is a great option for parties or gatherings.
To reheat, place the bars in a microwave for about 10-15 seconds or until warm. Alternatively, you can warm them in the oven at a low temperature. Just be careful not to overheat them, as this can affect the texture.
Recipe Troubleshooting Guide
Too Dry
Problem: If the bars turn out too dry, the crust may have been overbaked or there wasn't enough moisture in the caramel.
Solution: To avoid this, monitor the baking time closely and ensure the caramel layer is thick and gooey before pouring over the crust.
Not Crispy Enough
Problem: If the crust is not crispy, it might not have baked long enough.
Solution: Increase the crust baking time by a few minutes until it achieves a golden color and firm texture.
Overcooked
Problem: Overcooking can cause the chocolate to seize or the caramel to harden.
Prevention: To prevent overcooking, keep an eye on the bars during the last few minutes of baking, ensuring they're removed once they are bubbly but not hard.
Undercooked Center
Problem: An undercooked center may result in a gooey mess instead of a solid bar.
Recovery: If this occurs, return the pan to the oven for a few more minutes and check for proper consistency.
Burnt Exterior
Problem: Burnt edges can happen if the temperature is too high.
Prevention: Ensure that your oven is calibrated correctly and consider lowering the temperature slightly when baking.
Flavor Balance
Too Sweet: If the bars are too sweet, consider adding a pinch of salt to balance out the flavors.
Too Salty: If the bars are too salty, adding more chocolate can help to balance the saltiness.
Bland: If the bars are bland, try enhancing the flavor with a splash of vanilla or a sprinkle of sea salt.
Essential Ingredients for Homemade Chocolate Caramel Bars
Key ingredients include unsalted butter for richness, graham cracker crumbs for a crunchy base, and semi-sweet chocolate chips for a delicious topping. Sweetened condensed milk adds the perfect creaminess to the caramel layer, while vanilla extract enhances the overall flavor.
Choosing high-quality chocolate and fresh ingredients is crucial for achieving the best flavor. Opt for real butter and avoid margarine for a richer taste, and make sure your chocolate chips are of good quality for optimal melting and texture.
Essential Ingredient Notes
- Unsalted Butter: Always use unsalted butter for baking to control the saltiness of your dessert. This allows you to add salt to taste in your crust without overpowering the other flavors.
- Semi-Sweet Chocolate Chips: Look for high-quality semi-sweet chocolate chips that melt well. This will ensure a smooth chocolate layer that sets perfectly on top of the caramel.
- Sweetened Condensed Milk: Using sweetened condensed milk adds a creamy texture and sweetness to the caramel layer. Make sure to stir it well when heating to avoid any lumps.
Step-by-Step Cooking Process
This recipe involves a straightforward layering process that results in a perfectly textured dessert. Start with making the crust, followed by the caramel, and topping it off with chocolate.
By allowing each layer to set properly, you get clean cuts and prevent the bars from falling apart. Patience is key, as cooling the bars completely ensures they're easy to handle and serve.
Key Technique for Perfect Homemade Chocolate Caramel Bars
The most important technique in this recipe is to ensure the caramel is heated just enough to be pourable but not so much that it burns or hardens. Stirring continuously while heating helps maintain a smooth consistency.
Homemade Chocolate Caramel Bars
📋 Ingredients
Main Ingredients
- 1 cup butterRoom temperature
- 1 cup caramel sauceStore-bought or homemade
- 1/2 cup heavy creamFor richness
- 1 teaspoon vanilla extractEnhances flavor
For the Sauce
- 1 cup unsalted butter, meltedFor the crust
- 2 cups graham cracker crumbsBase for the bars
- 1 cup brown sugar, packedFor sweetness
- 1 cup sweetened condensed milkFor the caramel layer
- 2 cups semi-sweet chocolate chipsFor the topping
- 1 cup caramel sauceFor drizzling
- 1/2 cup chopped nuts (optional)For added crunch
Instructions
Prepare the Crust
Preheat your oven to 350°F (175°C). In a mixing bowl, combine melted butter, graham cracker crumbs, brown sugar, and salt. Press the mixture into the bottom of a greased 9x13 inch baking dish.
Bake the Crust
Bake the crust in the preheated oven for 10 minutes, then remove and let it cool slightly.
Prepare the Caramel Layer
In a saucepan over medium heat, combine sweetened condensed milk, caramel sauce, and chopped nuts (if using). Stir until smooth and heated through.
Layer the Caramel
Pour the caramel mixture over the baked crust, spreading it evenly.
Melt the Chocolate
In a microwave-safe bowl, melt the chocolate chips until smooth, stirring every 30 seconds to prevent burning.
Top with Chocolate
Pour the melted chocolate over the caramel layer, spreading it evenly.
Cool the Bars
Allow the bars to cool at room temperature for about 30 minutes, then refrigerate for an additional 30 minutes to set.
Cut and Serve
Once set, remove from the baking dish, cut into bars, and drizzle with chocolate syrup before serving.
Recipe Notes & Tips
Storage Tips
To keep your Homemade Chocolate Caramel Bars fresh, store them in an airtight container in the refrigerator. They can last up to a week when stored properly. Make sure to layer parchment paper between the bars if stacking to avoid sticking.
Serving Suggestions
These bars can be served warm or cold. For an extra treat, pair them with vanilla ice cream or a sprinkle of sea salt to elevate the flavors. They're perfect for potlucks or as a delightful after-dinner dessert.
Recipe Variations
Feel free to experiment with different types of chocolate, such as dark chocolate or milk chocolate, based on your preference. You can also add flavors like peppermint extract for a seasonal twist or mix in dried fruits or candies for added texture.